There is a Slack workspace for Computer Science students here at PSU. If you haven't already, create a Slack account, join the workspace at https://pdx-cs.slack.com and add the course channel linked on the course web page. All course communication will be done through this platform; check the pinned section for important updates. Note that the course has a corresponding webpage for more permanent information.
Setup account
- Visit the MCECS Gitlab site and create a private GitLab repo with the
ProjectNameabove. You will be using this repo for the rest of the term. This repo exists on the CECS intranet, and uses your CECS credentials for authentication. - Using the instructor and TA's OdinIDs from the course web page, grant them
Developeraccess to your repo. This will allow us to view your repo and provide feedback. - Create an initial blank submission for the first lab.
mkdir notebooks
touch notebooks/Labs1.pdf
git add notebooks
git commit -m "initial commit"
git push- Note that subsequent notebooks will follow this naming format, replacing the number with the lab notebook number being submitted..
Setup .gitignore
It is often the case that you'll have files in your local directory that you do not want added to your repository. To specify that these files should not be included in any commits, git uses a file called .gitignore. Create a .gitignore file that contains files that are common to Python that you do not want to add to your repository.
env/
*.pyc
__pycache__/
Add it to the files you wish to commit, commit the file to your local repository, and then push the local repository to its remote.
git add .gitignore
git commit -m "Adding .gitignore"
git push -u origin main
git basics
Read the first 6 steps of the following link. Note that for this class, you will be substituting Gitlab for GitHub. You will need to become proficient with the following git commands for this course or use an IDE such as VSCode that can perform the operations for you.
git clone: Fetch a copy of a remote repositorygit add: Add a new file and/or directory to local repositorygit commit: Commit changes to local repositorygit push: Merge changes from local repository to a remote one. Implicitly assumes "origin" (place that you retrieved repo from) and "main" (branch)git pull: Merge changes from remote repository to your local one. Implicitly assumes "origin" (place that you retrieved repo from) and "main" (branch)
Incognito mode
To avoid applying the coupon you receive to the incorrect account, ensure that these steps are done in an "Incognito" or "Private Browsing" browser window to set up your account.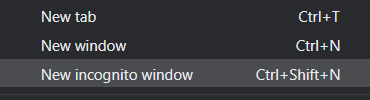
Then, visit https://console.cloud.google.com and login using your pdx.edu account to enable GCP. If you haven't used GCP yet and do not mind temporarily putting your credit card on the account, apply for the $300 coupon and use it to create a new billing account. Otherwise, visit the coupon redemption URL on the Canvas home page for the course (https://canvas.pdx.edu).
Create Project
Click on the pdx.edu organization from the console.

Then, click on "New Project"
Create a Google Cloud project with your ProjectName from above. You should be taken to your project's Home page. For your lab notebook, you will need to ensure that all of your screenshots for your Google Cloud labs include your ProjectName.
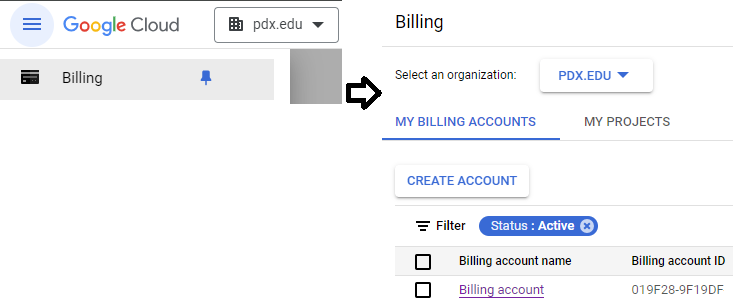
To examine your Billing account and its usage, go to the Billing page from the console at https://console.cloud.google.com/billing
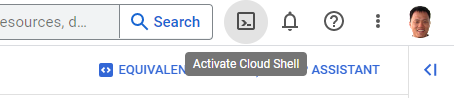
The exercises require the use of a Kali Linux VM. We can set one up in the cloud for this purpose. Log into your Google Cloud Platform account and from the web console, launch Cloud Shell.
If they do not exist already, create two firewall rules to allow HTTP and HTTPS traffic.
gcloud compute firewall-rules create default-allow-http \
  --allow=tcp:80 --target-tags=http-server

gcloud compute firewall-rules create default-allow-https \
  --allow=tcp:443 --target-tags=https-server
Then, run the command below to find the most recent version of the Kali VM image on the course's GCP project.
gcloud compute images list \
  --project pdx-cs --no-standard-images
Make a note of the name of the Kali VM image, then fill in the gcloud command below and launch a VM using the image. Attach the tags that will allow incoming HTTP and HTTPS traffic to the VM (needed for metasploit exercises)
gcloud compute instances create kali-vm \
--machine-type e2-medium --zone us-west1-b \
--image-project pdx-cs \
--image kali-rolling-latest
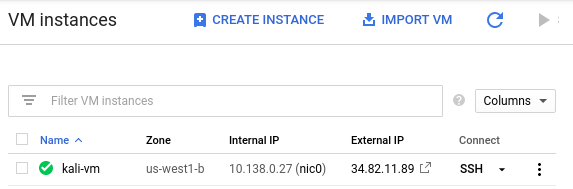
gcloud compute instances add-tags kali-vm --tags=http-server,https-serverKeep track of both the external and internal IP address of each instance. We will be using the internal IP address for the attacks, but will need to connect via the external IP addresses initially.
kali_external_IP, kali_internal_IP
ssh into your Kali VM instance to ensure you can access it.
Alternatively, you can perform the command below to do so as well.
gcloud compute ssh kali-vm --zone=us-west1-b
TryHackMe is a widely-used security training site that focuses on developing practical, hands-on skills for its users. The site is organized in "rooms" that contain lab content for users to complete to obtain badges. We will be using several of the site's free rooms as part of the course.
Visit the site at https://tryhackme.com/ and create an account. If you find the exercises useful, consider a subscription to the site to continue your development after the course.
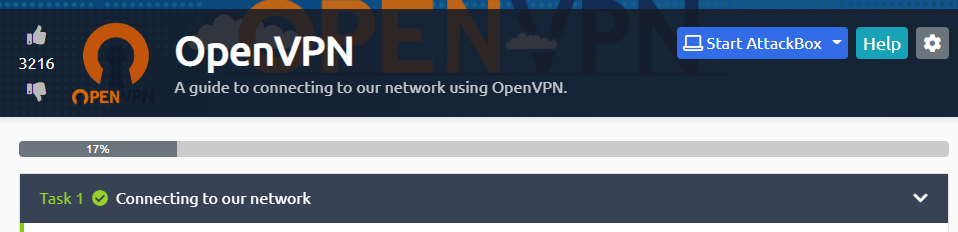
Throughout the course, we will be using the free rooms of TryHackMe to get you started on various security topics. Some of the TryHackMe rooms will launch machines on TryHackMe for you to work with. In order to access these machines easily, TryHackMe provides VPN support. Both Portland State and TryHackMe have support for the freely available OpenVPN client. The OpenVPN client is installed on all MCECS lab machines.

Visit your first TryHackMe room at https://tryhackme.com/room/openvpn and complete it using the machine you intend to work from for the course.
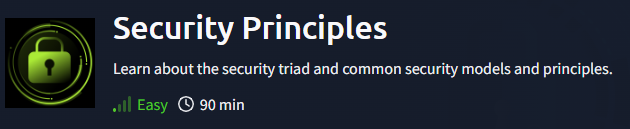
Join the following room on TryHackMe: https://tryhackme.com/r/room/securityprinciples . The room covers the fundamental security principles. Complete the first 3 tasks for this room.
- Take a screenshot showing that the first 3 tasks of the room have been completed that includes your OdinID for your first lab notebook

Save your notebook as a PDF as notebooks/Labs1.pdf, then add, commit, and push your lab notebook to your repository.
git add notebooks/Labs1.pdf
git commit -m "first lab"
git push