- Web-based GUI that provides a suite of cloud computing services which runs on Google's infrastructure.
- You will use GCP for Assignment 2 and for other assignments.
- You may also use GCP for the project.
Before going over the resources that can be used within GCP, it's important to understand GCP's organizational hierarchy. This hierarchy consists of three major components: organization, folders, and projects.
Organization
Folders
Projects
Organization
- The root of the hierarchy - usually corresponds to a company or organization. For this class, that organization is pdx.edu.
Folder
- The building blocks of a multi-layer hierarchy. Folders can contain projects, other folders, or both.
Project
- Projects are what you will be working with most of the time.
- They form the basis for creating, enabling, and using all of the services in Google Cloud.
- You can create a project, enable multiple resources, and, in the end, delete the project to delete all of the resources.
For more information on GCP's hierarchy, you can visit the following Google document
https://cloud.google.com/resource-manager/docs/cloud-platform-resource-hierarchy
- Click on the URL shared by the faculty.
- After signing up, you'll get $50 credit ☺
[ You can also get $300 for a free trial as well!https://cloud.google.com/free/docs/gcp-free-tier] - You will be asked for a name and email address, which needs to match your school domain(
remember to use your @pdx.edu email). A confirmation email will be sent to you with a coupon code. - You can only request ONE code per unique email address.
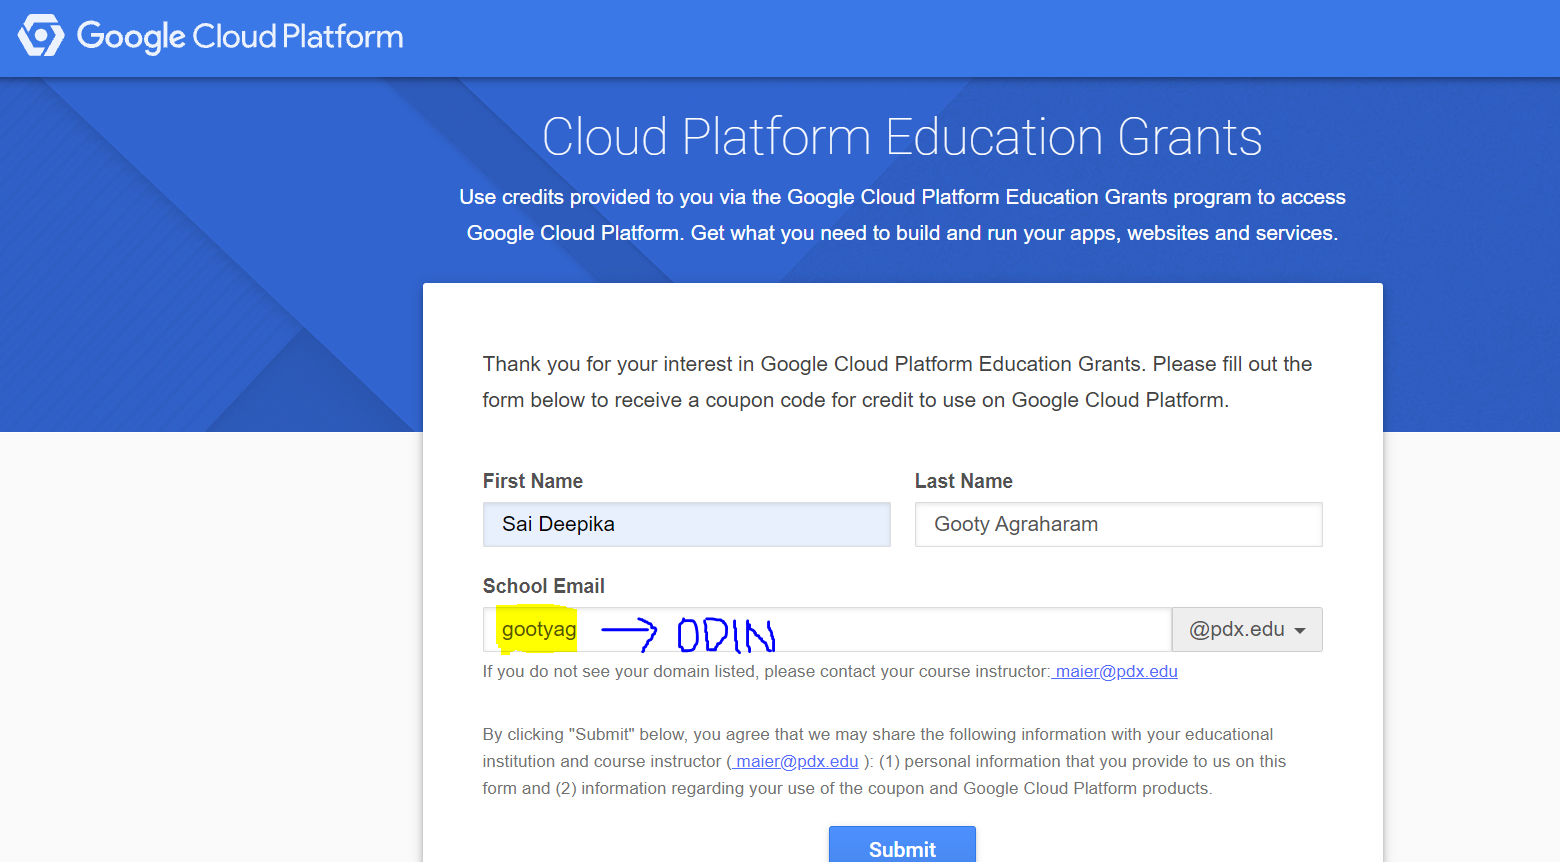
- Go to your email and click on the link received in the email to verify your email address
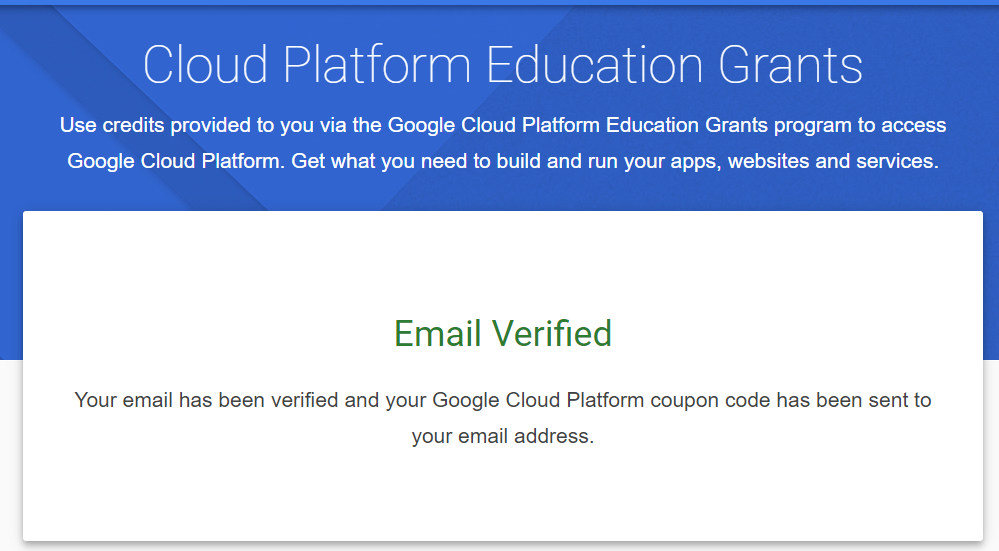
- Go back to your email again and click on the link to redeem your coupon
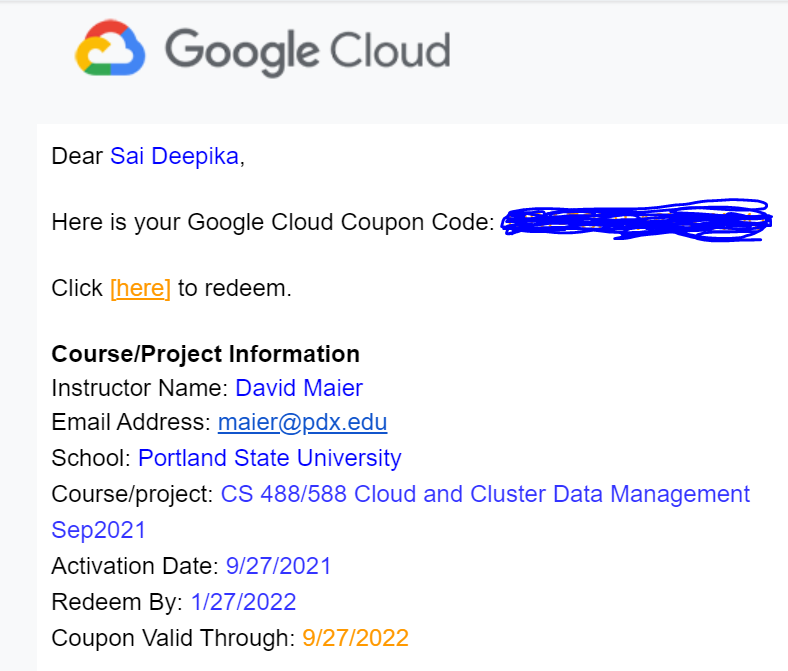
- Once clicked on the link, you will be redirected to the Google Cloud Platform.
- Make sure to check you are logged in to the pdx.edu email account. Then enter the coupon code received in the email
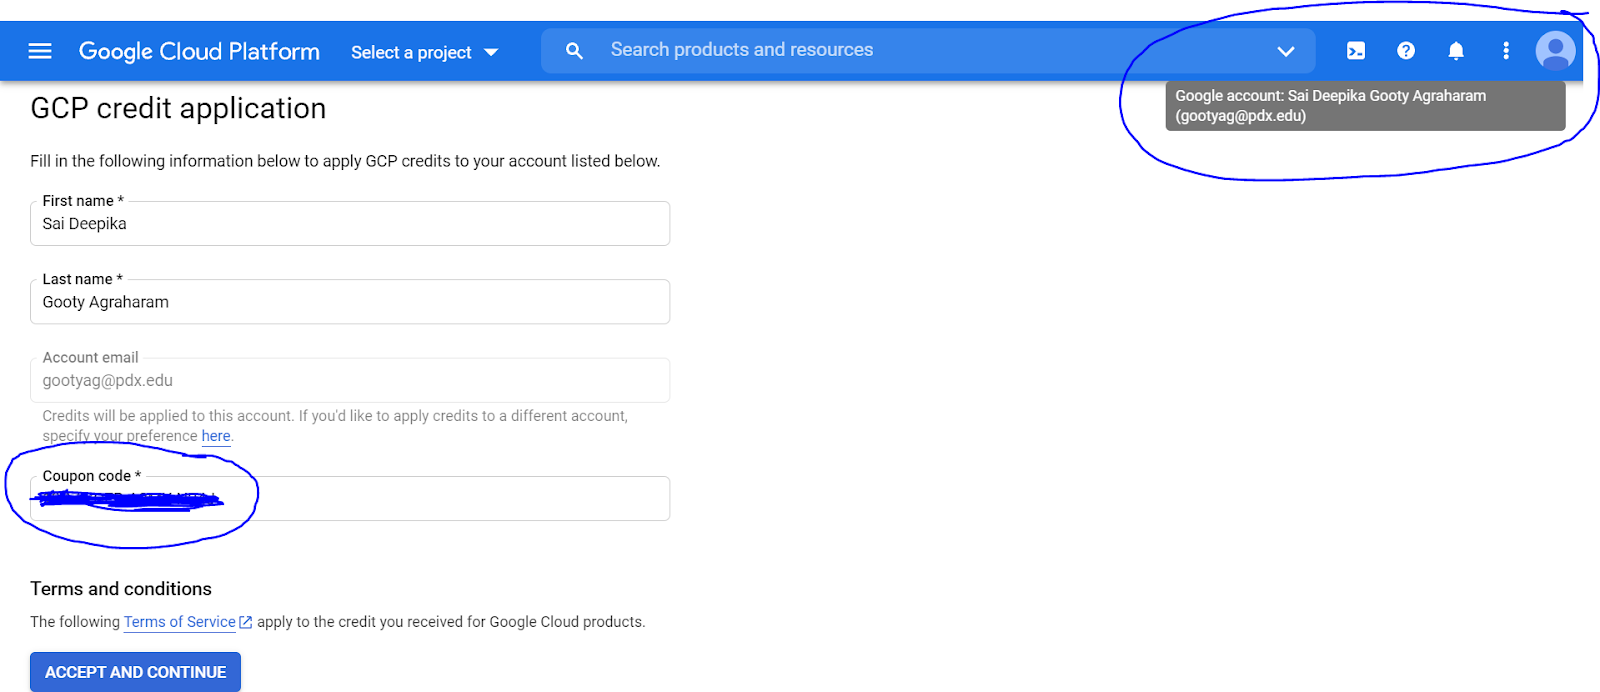
- Click on ‘Accept and Continue'
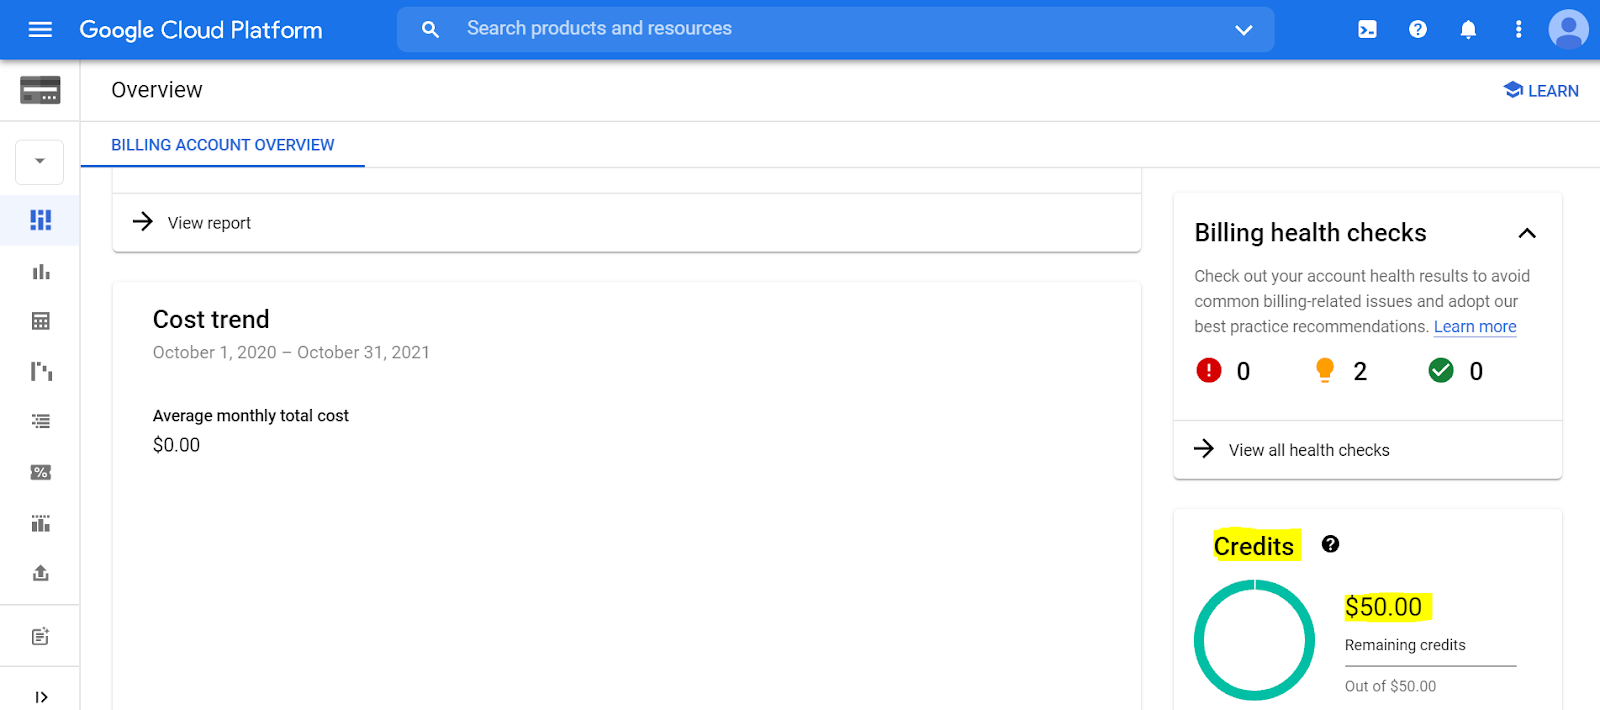
- A Billing account overview page is displayed. Scroll down to confirm that the $50 credit is applied to your pdx.edu email account
- Go to the GCP console at
https://console.cloud.google.com - Create a new project OR select an existing one. [See Step 6]
- Set billing for this project [See Step 7] ***SUPER IMPORTANT***

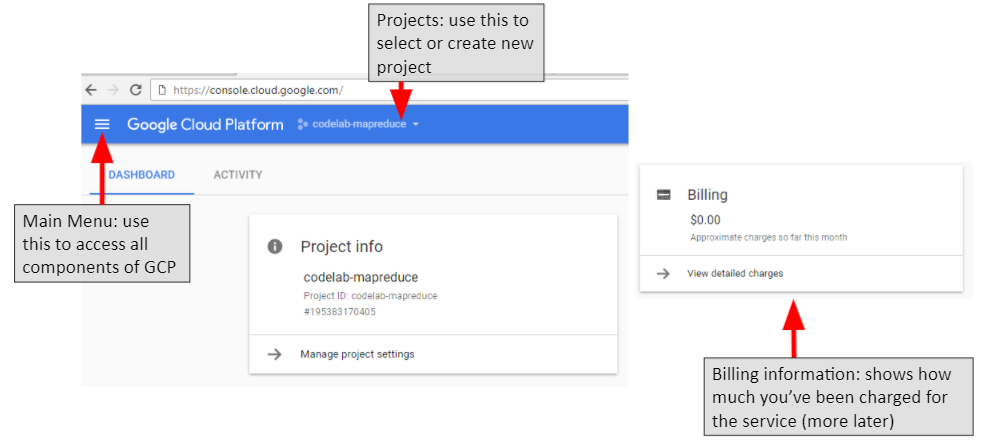
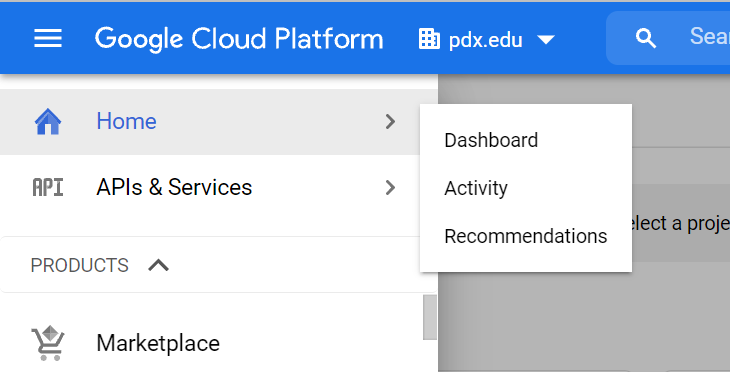
- Navigate to
Main Menu🡪Home🡪Dashboard
- Click on Select a project

- Make sure organization is set to
pdx.edu, then click on thenew projectbutton
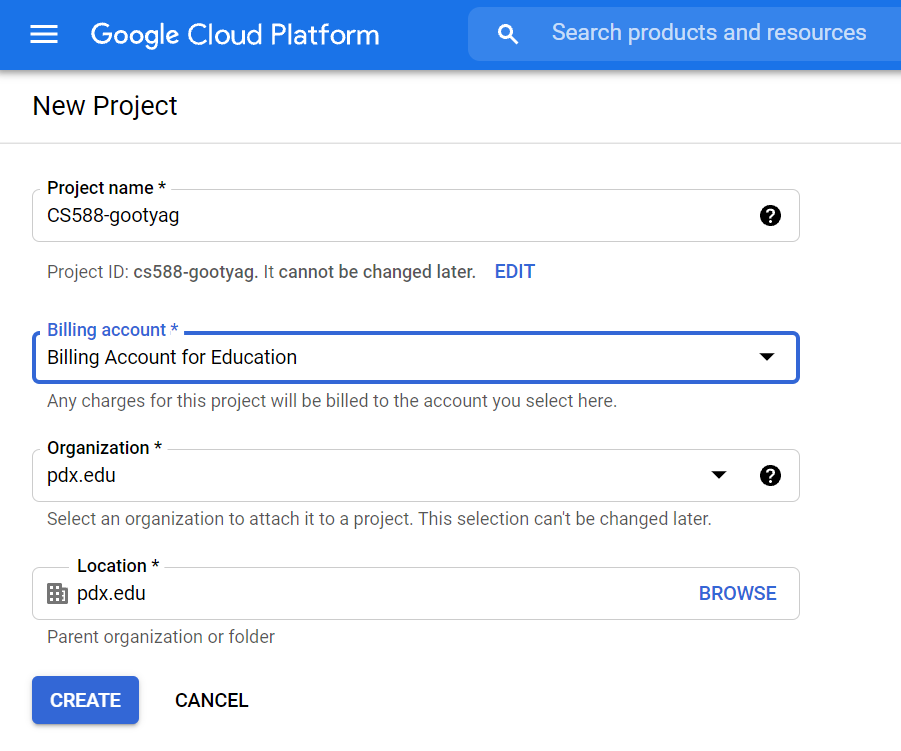
- Give it a name. The default Billing Account will be selected (if you have multiple, you can choose from the drop down). Then click on
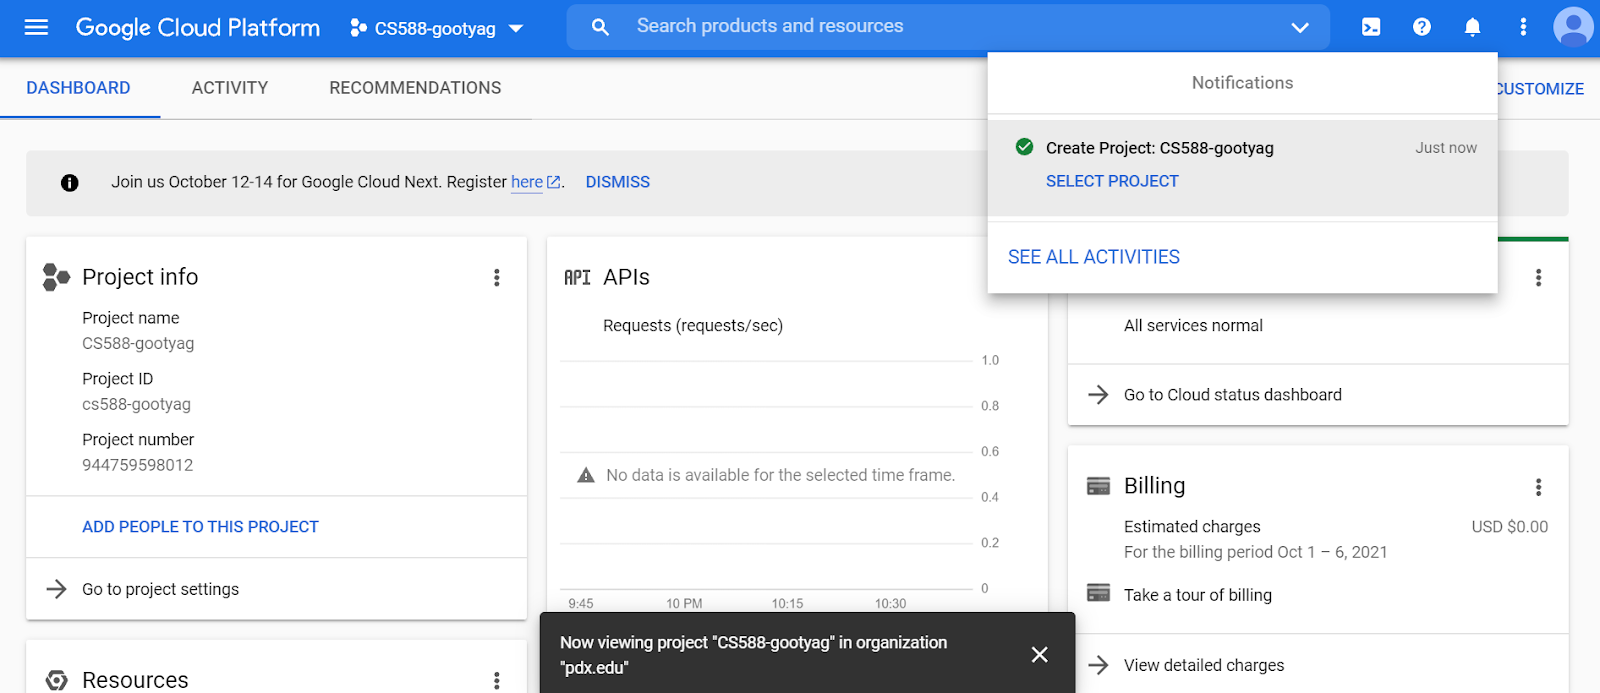
Create - Once the project is created, it should redirect you to the project's detail page and display the project creation notification as shown below
Go to Main Menu 🡪 Billing
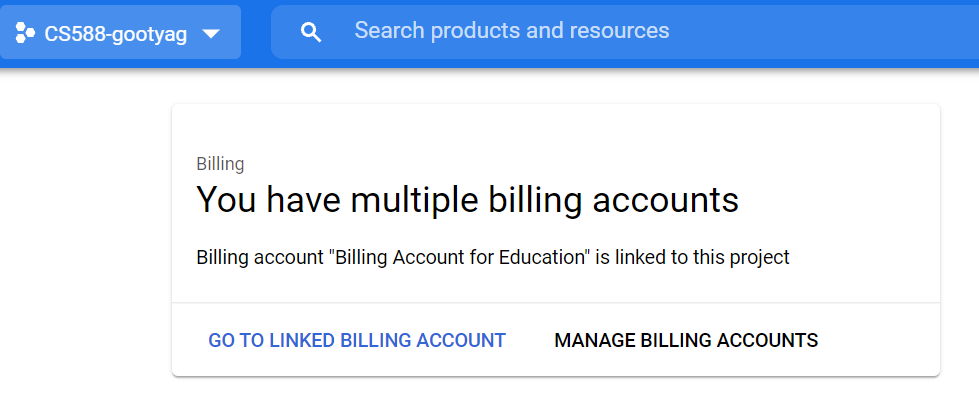
- If you have only one billing account, the billing is set by default
- If you have multiple billing accounts, click on the "Go to linked billing account"
- If you want to have a look at all the projects and billing accounts you can navigate to
Billing🡪Manage Billing Account.
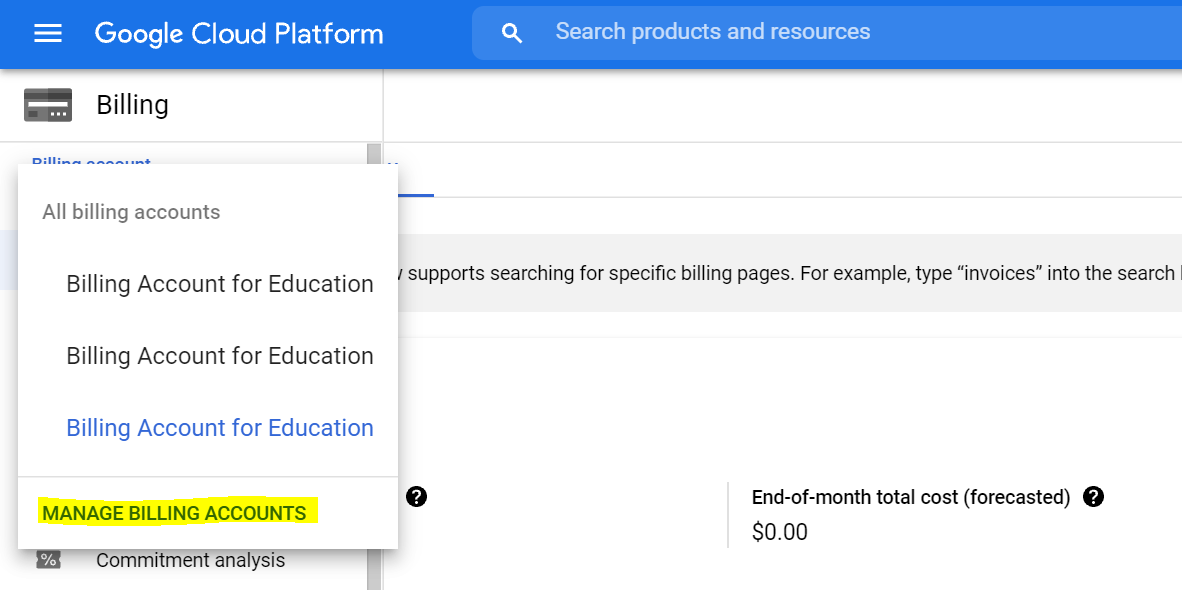
- Select organization as
pdx.edu - "Manage Billing Account has two tabs, My Billing Accounts and My Projects. This is a useful place to see all billing accounts and projects.
My Billing Account

My Projects

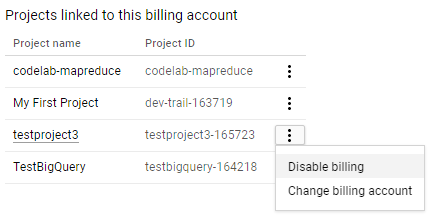
Disable Billing - if you are worried about overspending, it's easiest to just disable billing from any project that you don't use
- Navigate to
My Projects - Click on the three dots of the project that you want to disable the billing for
- Click on Disable billing
Check out the codelabs for GCP
https://codelabs.developers.google.com/?cat=Cloud
Useful codelabs
Query the Wikipedia dataset in BigQuery (google.com)
Instructions for monitoring billing
https://docs.google.com/document/d/1pkMx12gc3uSOdp4nKtTx_DJjY5SlnokwVeN8-D1gTHA/edit
Option 1 Go to Main Menu 🡪 Compute Engine
(Ensure you're within your specific GCP Project)
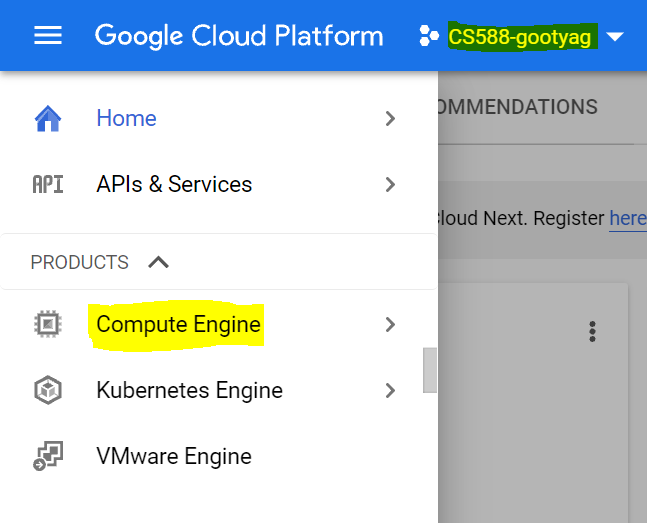
- Create Virtual Machines here manually, and install your cloud system as you would for any physical systems. For a cluster, create multiple VMs and refer to that cloud system's manual to set up a cluster.
Option 2 Go to Main Menu 🡪 Deployment Manager
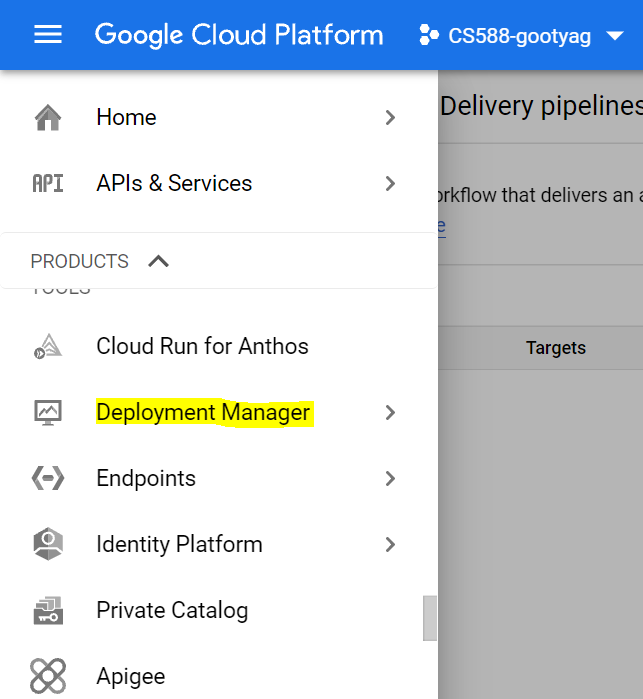
- Click on "Enable" if it is not already enabled
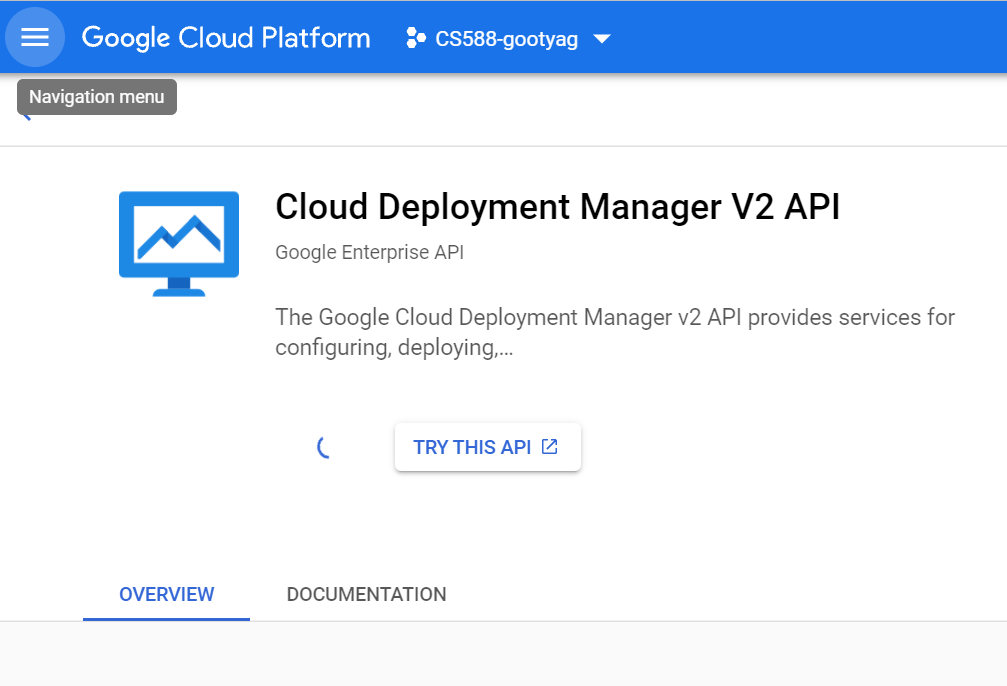
- Click on "Deploy Marketplace Solution"
- In the Search Bar look for a specific cloud system, and select the option that has "google click to deploy".
- This will display different options based on the type
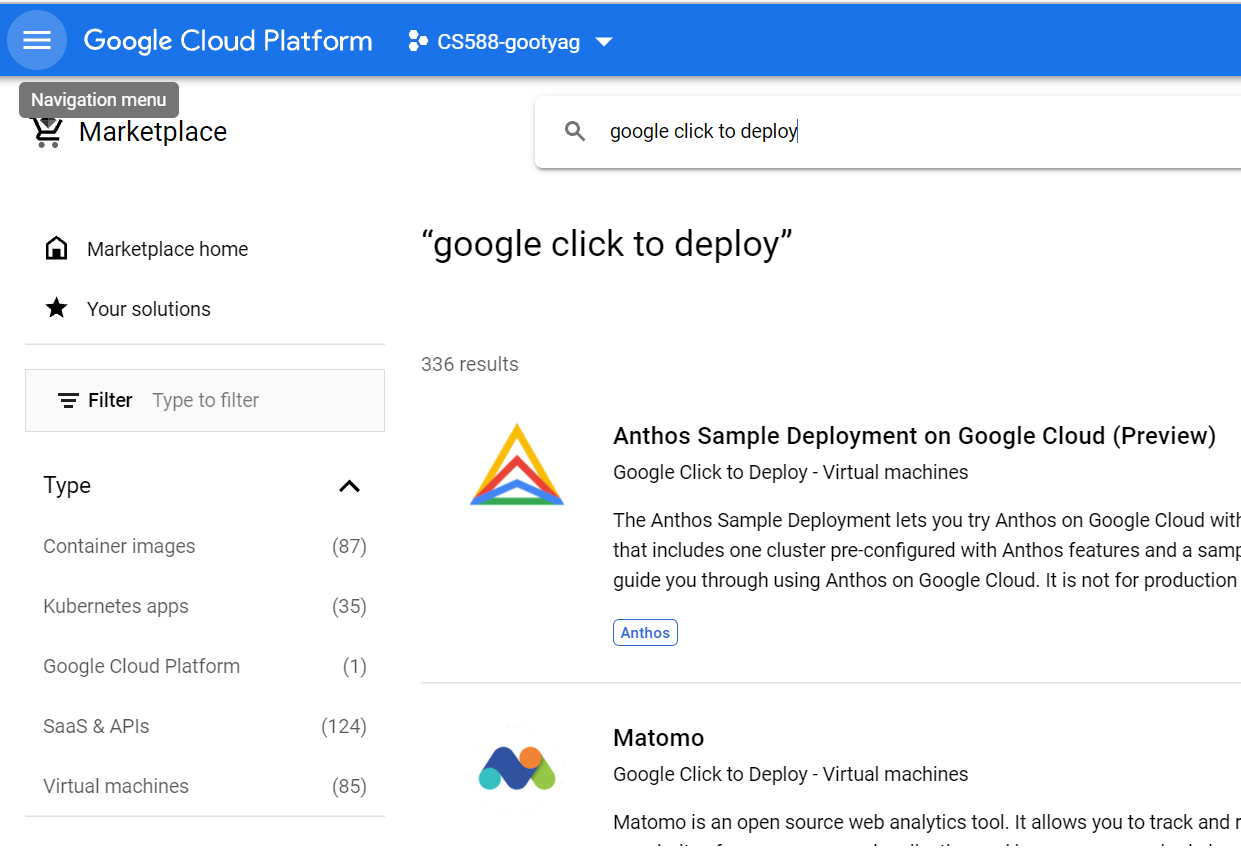
- For example, I have chosen Google Cloud Platform which has the Kubernetes Engine as displayed below.
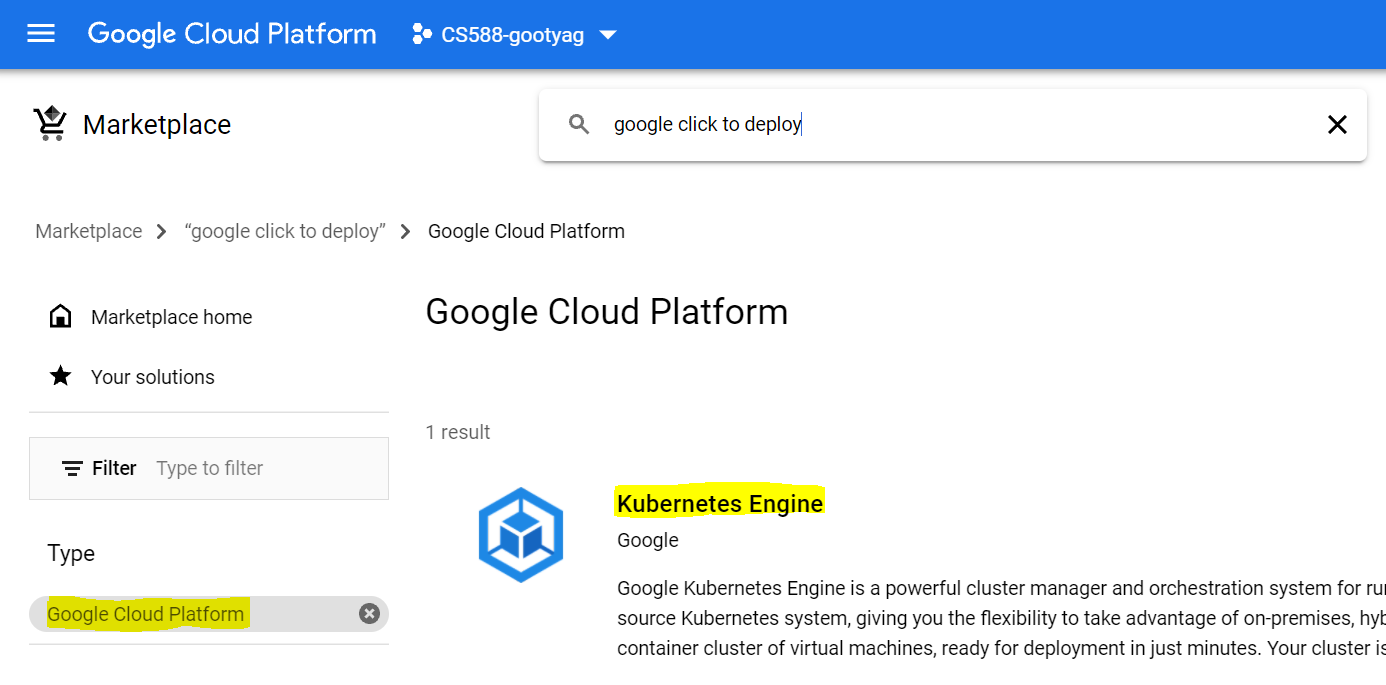
- Click on Enable if it is not already enabled or click on Go to Kubernetes Engine
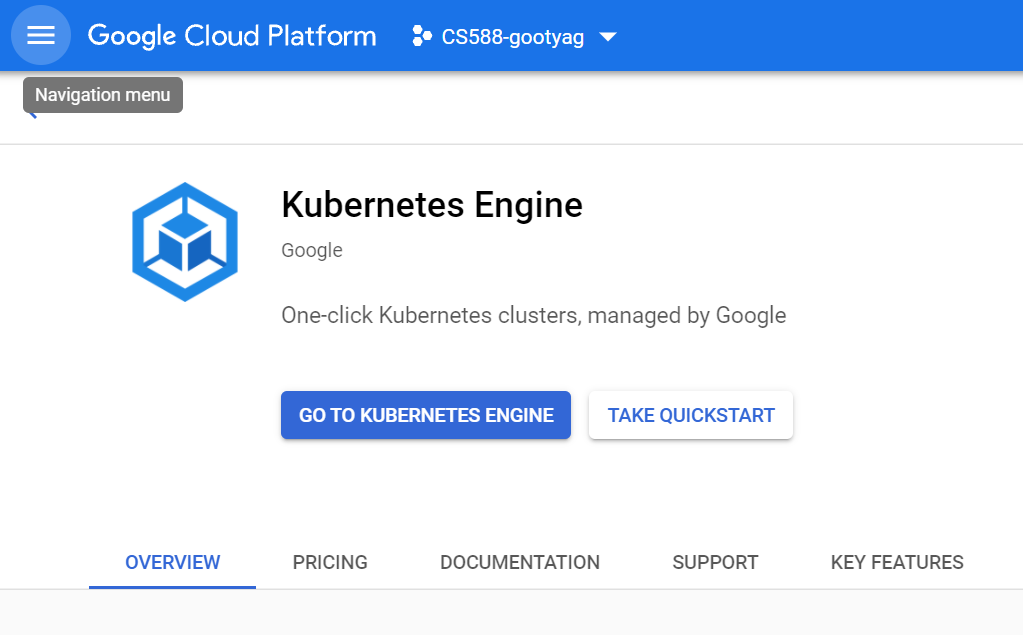
- The UI will guide you through the steps required for creating VMs, installations and creating a cluster.
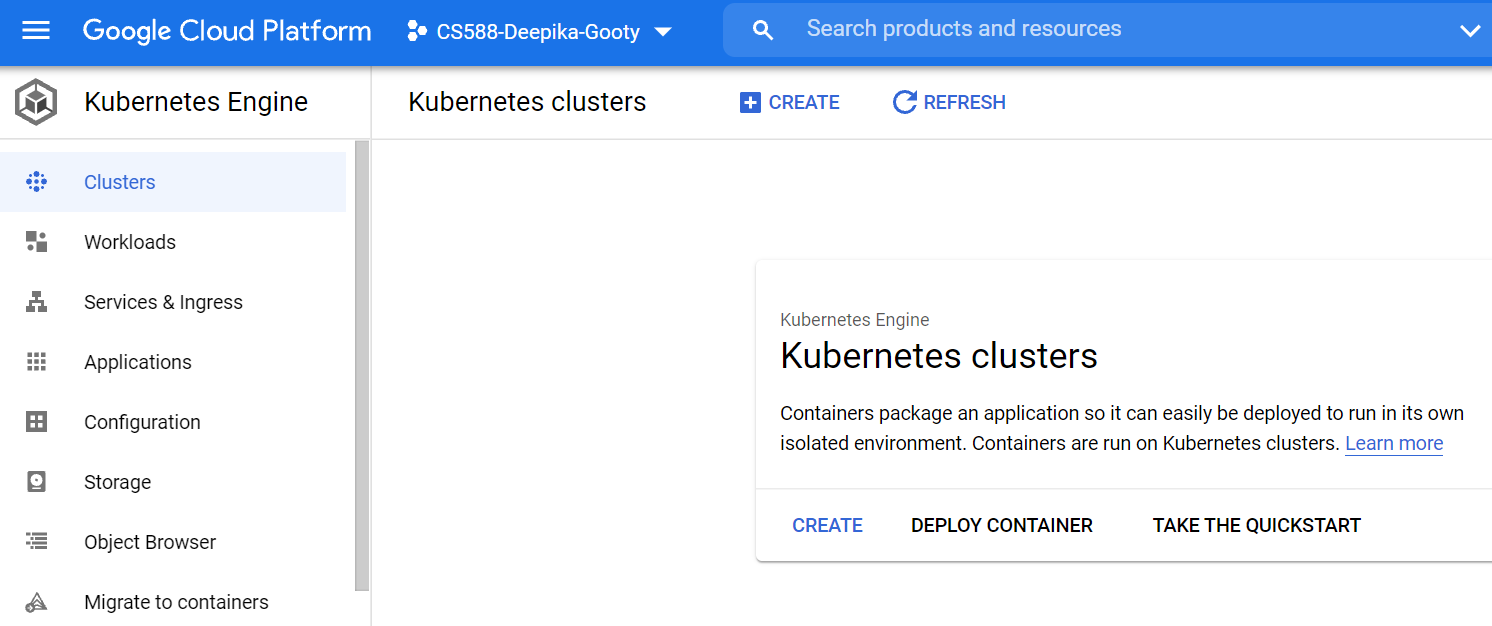
In either case
- Remember to shut down all instances when not in use. You can restart them when you want to use them again.
- Check billing to see the amount charged/time so you can be careful about how long the system should be up for.
- Especially, check if you're being charged even when the system is off -- to know what external factors are costing you (you might be charged for storing data in their memory even when the VM is off, or for keeping certain APIs in use, etc.).
Some APIs you may need:
- BigQuery: query data and store results using SQL
- Google Cloud Dataproc: MapReduce and Spark.
- Google Cloud Storage: upload and manage your own data
BigQuery and Cloud Storage are enabled by default. To enable Dataproc, you need to enable it's API.
- Go to
Main Menu🡪API & Services
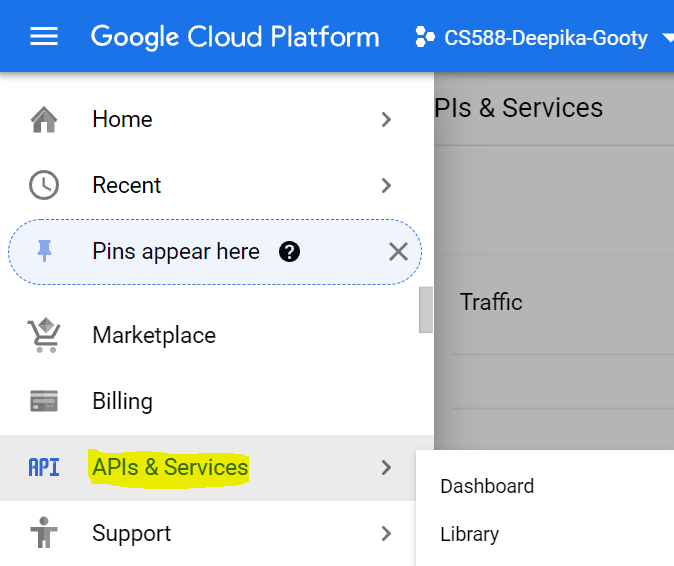
- Click on
ENABLE APIS AND SERVICESorLibrary(you'll be redirected to the Library)

- You can search for the API that you want to enable

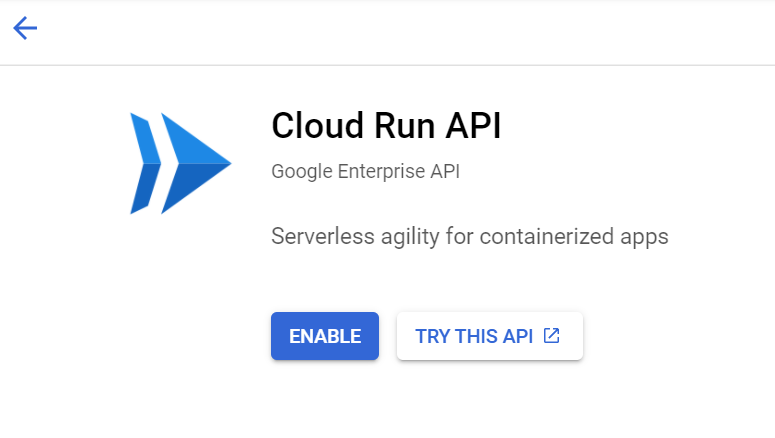
Example - Enable Cloud Run API
- Search cloud run

- Click on the "Cloud Run API" and click on "Enable to enable the cloud run API

Note - Few of the APIs and Services are already mentioned in the Main Menu which when clicked gives an option to enable if it is not already enabled
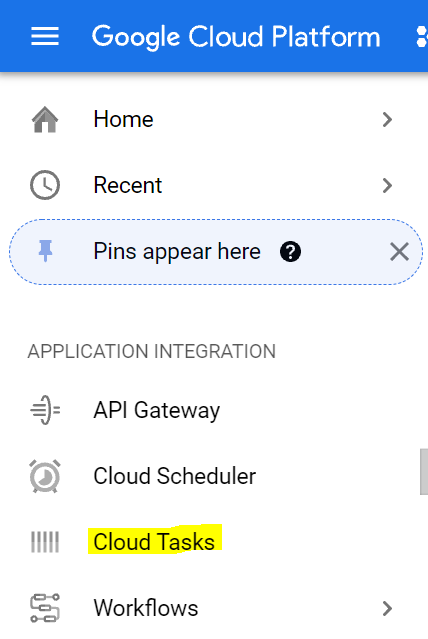
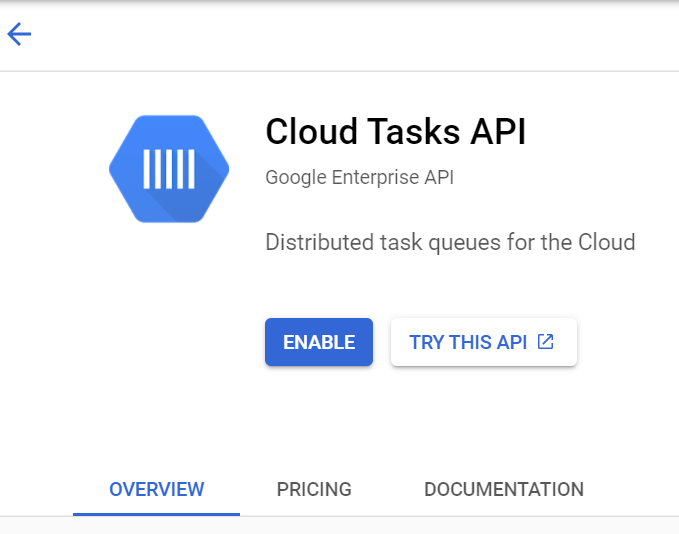
Example - Enable Cloud Tasks API from Main Menu
- Go to Main Menu 🡪 Cloud Tasks
- Click on "Enable"
- Amazon AWS - $40 to $100 free credit.
- Microsoft Azure
- Alibaba Cloud
- IBM Cloud