Within your course repository, create a directory "final". Commit and push to your remote repository.
cd <path_to_repo>
mkdir final
touch final/screencast_url.txt
git add final
git commit -m "initial commit for final"
git push
You will build a DApp of your own using Vyper. For simple DApps, you may additionally build a web3.js front-end. Upon completing your project, via a narrated screencast of no longer than 15 minutes, you will show the following in the exact order specified.
- Checking out the application source code from your course repository.
- Deploy the application. Pause the screencast to wait for deployment in order to shorten the length of the screencast.
- Demo the application running
- Perform a source code walk-through that explains how it has been implemented
- Walk-through the git commit history from the first to last commit and describe the timeline of your incremental development process for the project.
You may use screencast software of your choice. Options include video conferencing applications such as Google Meet and Zoom or dedicated programs such as OBS Screen Recorder, QuickTime (MacOS), Screencast-O-Matic (Windows), or RecordMyDesktop (Linux). In addition, CaptureSpace Lite is available via PSU's Media Space (https://media.pdx.edu).
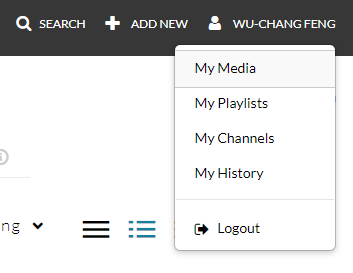
All application code required to run your DApp should be pushed to your repository in the final directory. Upload your completed screencast on MediaSpace. Ensure that it is published as "Unlisted". To do so, visit MediaSpace and click on "My Media".

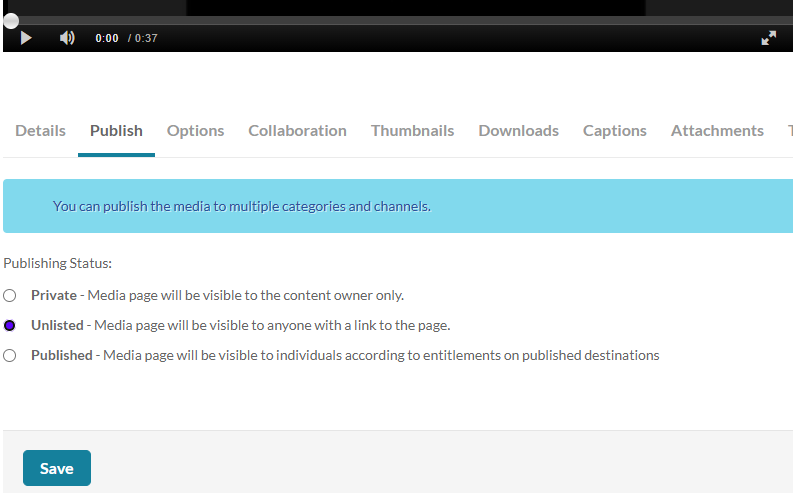
Click on the screencast video that has been uploaded. Then, in the tabs below, select the "Publish" tab, click on "Unlisted", and then "Save".

Then, update the file final/screencast_url.txt in your repository to contain the URL that your unlisted screencast on MediaSpace is located. Push the changes to your repository before the due date.
We will be using your screencast and git repository to evaluate your project.
Demo of the setup, building, and deployment of the application |
Demo of fully functioning application |
Level of functionality built and the creativity of the application |
Code quality (clean with no unused code or variables, readable, modular, and documented with Docstrings and comments) |
Walkthrough quality including source code and description of development history via git commits |
Instructions followed properly including code submission in the specified repository files, sequencing of screencast, and the length of the screencast |